
How To Grout
Download the full detailed instructions as a PDF document.
Download PDF GuideBefore You Start
Ensure the grout joints are clean and free from excess adhesive. With porous tiles, dampen the joints with water (not wet) before grouting. Do not grout until the tiling has set firmly. Remove all tile spacers before grouting. Selecting the best Dunlop grout for your projects means considering the joint width, whether you prefer a premixed grout and the type of finish you would like (sanded versus smooth).
Application
Step 1
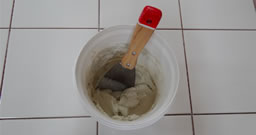
If the grout is not premixed, mix the grout to a smooth toothpaste consistency as per instructions.
Step 2
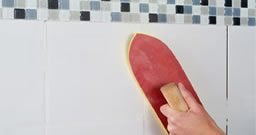
Work grout diagonally into the joints using a rubber squeegee or grout float, only grouting small areas at a time. Compact the grout firmly into the joints.
Step 3
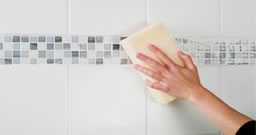
With a damp sponge, work in a diagonal motion to remove excess grout from the tile surface. Change water regularly.

Step 4
When grout has hardened in the tile joint, polish the tile with a clean dry cloth.
Handy Hints
- To enhance colour, impart a degree of flexibility and reduce porosity and staining use Dunlop Primer and Additive with Dunlop Coloured Grout by replacing half the water content when mixing.
- To make joints easier to maintain and clean, seal the grout joints with Dunlop Grout Sealer.
- To keep your tiles and grout clean, use Dunlop Tile & Grout Cleaner regularly.
- In an inconspicuous area, check the easier of cleaning the grout with tiles that have a textured or matt surface.
- If the project is outdoors, protect the project area from all extremes of climate during the whole tiling and grouting process and for as long as possible afterwards.